
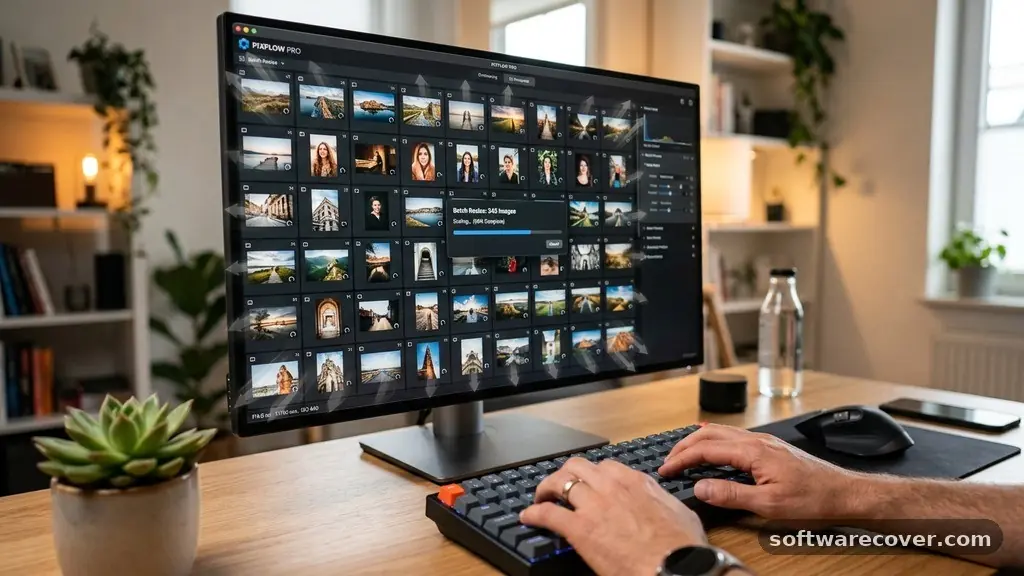
Learning the process of resizing multiple images at once is one of the most effective ways to save hours of tedious manual labor. Whether you are preparing a gallery for a website, organizing a large batch of personal photos, or optimizing files for social media, bulk processing is the key to maintaining a consistent workflow.
By automating the adjustment of pixel dimensions and file sizes, you ensure that your output remains uniform without needing to touch each individual file. This article provides the practical methods and technical context required to master bulk image processing across various operating systems and professional software suites.
Understanding Batch Resizing Efficiency
The core concept behind bulk image processing is the ability to apply a single set of instructions to a folder of files simultaneously. Instead of opening each image in an editor, adjusting the scale, and saving it, your computer executes a script or command to process the entire set.
This approach significantly reduces the time spent on repetitive tasks while minimizing the risk of human error. When you maintain a consistent workflow, you ensure that every file adheres to your specific quality settings and resolution requirements.
Most modern tools rely on a simple logic: you define the target dimensions, choose a file format like JPEG or PNG, and point the software toward your source directory. The software then reads the metadata of each file and applies the transformation uniformly.
This prevents issues where one image might be significantly larger or smaller than the rest of the collection. Mastering this skill allows you to handle hundreds of images with the same speed as you would handle a single file.
Using PowerToys for Windows Users
If you are a Windows user, the most effective native tool for this task is the Microsoft PowerToys suite. Specifically, the “Image Resizer” module integrates directly into your file explorer, allowing for rapid batch adjustments.
You simply highlight your selected images, right-click, and choose the resize option from the context menu. This utility provides a predefined list of sizes, such as small, medium, or large, while also letting you set custom pixel dimensions for specific projects.
The beauty of this tool lies in its simplicity and its ability to handle large quantities of data without taxing your system resources. It preserves the original files by creating copies, so you never have to worry about losing your high-resolution source material.
By adjusting the image quality settings within the tool, you can also manage file compression, ensuring that your final images are optimized for web use without noticeable visual degradation. It is an ideal solution for those who need to perform quick, frequent tasks without launching heavy editing software.
Leveraging Adobe Photoshop for Advanced Control
For photographers and designers who require precise control over their output, Adobe Photoshop remains the industry standard. The “Image Processor” script is a powerful built-in feature designed to handle bulk conversion tasks efficiently.
You can access this by navigating to the File menu and selecting the scripts sub-menu. This tool allows you to process entire folders, including subdirectories, while specifying exact pixel dimensions and conversion formats like PNG or JPEG.
One of the main advantages of using Photoshop is the ability to maintain the original aspect ratio consistently across all images in the batch. You can also incorporate actions, which are recorded sequences of steps, to add watermarks, apply filters, or adjust color profiles during the resizing process.
This makes it a comprehensive solution for professionals who need to maintain strict branding or technical standards across hundreds of assets. While it carries a steeper learning curve than simple utilities, the level of customization is unmatched in the industry.
Command Line Power with ImageMagick
For users who prefer a more technical, script-based approach, ImageMagick is a formidable tool for image manipulation. It is an open-source software suite that runs from the command line, offering unparalleled speed and flexibility for developers and power users.
You can write a single line of code to process thousands of images, effectively bypassing the need for a graphical interface entirely. This method is particularly useful for automated server-side tasks or for integrating image processing into a larger development workflow.
To get started, you might use the “mogrify” command to resize an entire directory of files to a specific width while keeping the aspect ratio locked. Because it handles tasks at the system level, it is incredibly fast and consumes very little memory.
You can find extensive documentation and community support on the official ImageMagick website to help you construct complex scripts. It is the preferred choice for those who value efficiency and want to avoid the overhead of traditional software interfaces.
Balancing Resolution and File Quality
When you resize multiple images at once, the balance between resolution and file size is critical. Reducing pixel dimensions is the most effective way to shrink file size, but you must also consider the compression settings.
High compression can lead to artifacts, which are visible blocks or distortions in the image, especially in high-contrast areas. Most tools allow you to specify a quality percentage, typically ranging from 60 to 90 percent for web-optimized images.
It is important to remember that you cannot increase the resolution of an image without sacrificing quality, so always start with the highest resolution source files available. If you are preparing images for high-DPI displays, you might need to maintain higher pixel counts while using more efficient file formats.
Always perform a test run on a small subset of your images to ensure the output meets your quality standards before committing to a full batch. Below is a comparison of typical output formats used during bulk conversion.
| Format | Best Use Case | Compression Type |
|---|---|---|
| JPEG | Web photos and general storage | Lossy |
| PNG | Graphics with transparency | Lossless |
| WebP | Modern web performance | Lossy/Lossless |
Maintaining Metadata and File Integrity
One often overlooked aspect of batch processing is the handling of image metadata. Metadata, or EXIF data, contains information such as the date taken, camera settings, and even GPS coordinates.
Some bulk resizing tools strip this information by default to reduce file size, which might be detrimental if you need to maintain a record of your images. Always check your software settings to see if it offers an option to preserve this metadata during the conversion process.
Furthermore, ensure that your batch process does not inadvertently overwrite your original high-resolution assets. A safe practice is to always output your resized files to a new, dedicated folder.
This strategy keeps your workspace organized and ensures that you can always revert to your originals if you change your mind about the target dimensions. Managing your directory structure before you start the process is a small step that prevents significant headaches later.
Common Hurdles in Batch Processing
Even with the best tools, you may encounter challenges when handling large batches of images. One common issue is a mismatch in orientation, where some images are portrait and others are landscape.
If you set a fixed width and height, you might end up with stretched or distorted images. Most modern software includes an “auto-orient” or “fit-within” feature that respects the original orientation while ensuring the image does not exceed your specified boundaries.
Another potential hurdle is the variation in file formats within a single source folder. If your folder contains a mix of JPEG, PNG, and TIFF files, some simpler tools may fail to process them correctly.
You might need to filter your files by extension before initiating the batch, or choose a robust tool that supports multi-format conversion. Dealing with these inconsistencies early in the process saves time and prevents partial batch failures.
- Organize source files into a single master folder before beginning.
- Perform a test run with 5-10 images to verify quality settings.
- Check for consistent aspect ratios to avoid image stretching.
- Verify that your chosen tool preserves essential EXIF metadata.
- Use distinct output folders to prevent overwriting original files.
Frequently Asked Questions
Can I resize images while keeping the original file name?
Yes, most batch tools allow you to keep the original file names, but you must be careful about output paths. If you save the new files in the same folder as the originals, the software will likely prompt you to rename them to avoid overwriting. It is almost always safer to save the resized images into a separate folder to preserve your original data.
How do I handle images with different aspect ratios?
The best approach is to use a “fit within” or “max dimensions” setting rather than forcing a specific width and height. This allows the software to scale the image down until the longest side matches your target dimension while keeping the shorter side proportional. This prevents the distortion that occurs when you force a landscape image into a square frame.
What is the difference between lossless and lossy resizing?
Lossless resizing refers to changing the pixel dimensions without discarding any color data, though this usually only applies to canvas cropping or specific formats. Most resizing is lossy because it requires re-compressing the image data to reach the new file size. If you need to keep the absolute highest quality, choose a high-quality setting like 95-100% or use a lossless format like PNG.
Will resizing images reduce the file size significantly?
Yes, resizing is the most effective way to reduce file size. When you decrease the pixel dimensions (e.g., from 4000 pixels wide to 1000 pixels wide), you remove a significant amount of data from the file. This results in faster loading times and lower storage requirements, which is essential for web performance.
Final Thoughts on Batch Workflows
Mastering the art of resizing multiple images at once is an essential skill for anyone managing a digital library or web content. By moving away from manual editing and embracing batch processing tools, you reclaim valuable time and ensure a consistent aesthetic across all your visual projects. Whether you rely on simple Windows utilities, the precision of Adobe Photoshop, or the speed of command-line scripts, the goal remains the same: efficiency and quality.
Start by identifying the specific requirements of your project, such as the target platform or storage limits. Once you have established a reliable workflow, you will find that managing large numbers of files becomes a trivial task rather than a chore.
Experiment with the tools mentioned here to find the one that best fits your technical comfort level. As you refine your process, you will be able to handle even the largest batches of images with confidence and ease.